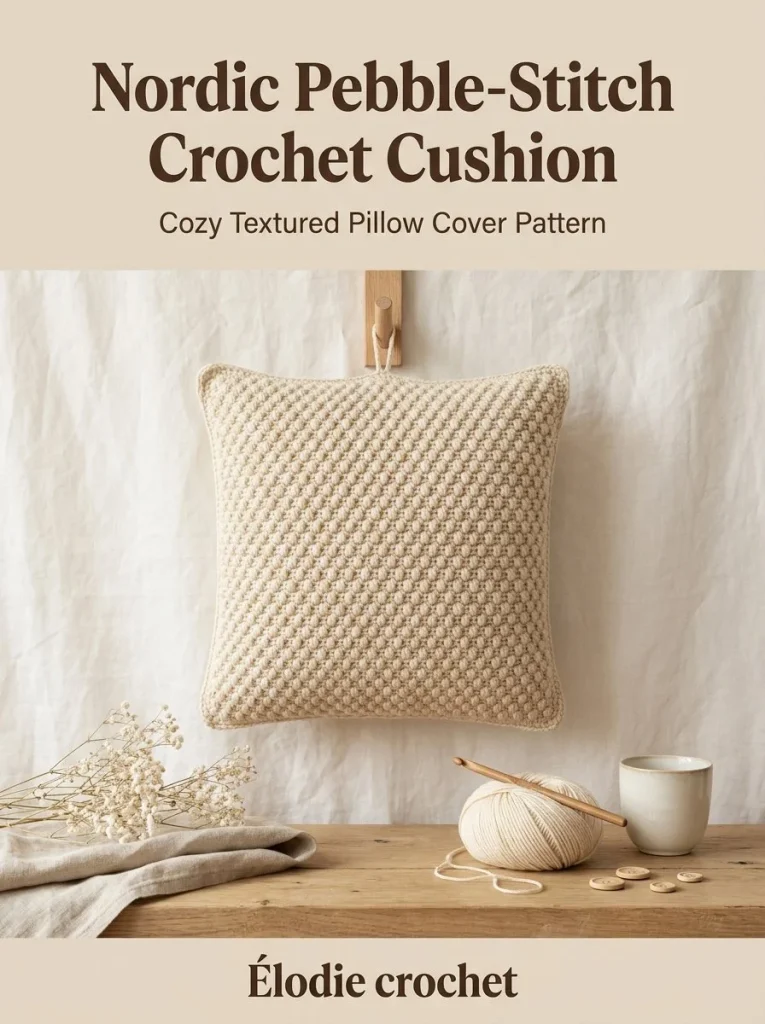
Creating a beautiful and textured cushion cover can add warmth and character to any living space. The Nordic Pebble Texture Cushion Cover features a unique pebble stitch that creates an inviting texture, making it a delightful addition to your home decor. In this detailed pattern, you’ll learn how to crochet a cushion cover with a snug fit for your insert, enhanced with elegant wooden buttons. Let’s get started!
Skill Level
Intermediate
This project is suited for crocheters who have some experience with basic stitches and are ready to learn the pebble stitch. The pattern involves alternating stitches and the construction of panels, which may challenge those who are still mastering the basics.
Materials
- 650–700 m aran-weight cotton or cotton-acrylic blend in warm cream
- 5.0 mm crochet hook
- 45 cm cushion insert
- Four 20 mm wooden buttons
- Yarn needle
- Scissors
Abbreviations — US Terms
- ch – chain
- sc – single crochet
- dc – double crochet
- st(s) – stitch(es)
- ch-sp – chain space
Special Stitches
Pebble Stitch
This stitch combines single and double crochet to create a textured fabric. Begin with a single crochet followed by a double crochet in alternating stitches.
Gauge
Gauge is not essential for this project, but it is important to maintain consistent tension to ensure the panels fit properly.
Finished Size
The finished cushion cover will measure approximately 45 cm × 45 cm, designed to fit a 45 cm cushion insert.
Pattern Notes
- The project is worked in rows to create panels.
- Each panel consists of a set number of stitches, and a turning chain is used at the start of each row.
- The buttonhole row features chain spaces to accommodate buttons.
- Ensure your stitch count remains consistent throughout to achieve an even finish.
Crochet Instructions
Part 1 – Front Panel
Foundation Chain:
Chain 69.
Row 1
- Begin: Start in the 2nd chain from the hook.
- First Stitches: Work 1 sc in the 2nd ch from the hook.
- Repeat: Work 1 dc in the next ch, then 1 sc in the next ch until you reach the end of the row.
- End of Row: You should have 68 stitches.
- Turn: Chain 1 and turn your work.
Row 2
- Begin: Work 1 dc in the first sc of the previous row.
- Repeat: Work 1 sc in the next dc, then 1 dc in the next sc across the row.
- End of Row: After completing this row, you will have 68 stitches, like the previous row.
- Turn: Chain 1 and turn your work.
Rows 3 to Final Row
- Continue: Repeat Rows 1 and 2 until the panel measures 45 cm in height.
- Finish: Fasten off and cut yarn.
Part 2 – Back Lower Panel
Foundation Chain:
Chain 69.
- Begin: Work in pebble stitch for a total height of 30 cm.
- Finish: Complete with a row of sc across the top and fasten off.
Part 3 – Back Upper Panel
Foundation Chain:
Chain 69.
- Begin: Work in pebble stitch for a total height of 22 cm.
- Finish: Fasten off at the end of the row.
Part 4 – Buttonhole Row
- Begin: Work the first 8 stitches in pattern (sc and dc as established).
- Create Spaces: Ch 3, skip the next 3 sts, then work 14 sts in pattern. Repeat this sequence two more times.
- Finish: After the final repeat, create a ch-3, skip 3 sts, and complete with the last 9 sts in pattern.
- Next Row: Continue in the established pattern, placing 3 sc in each ch-3 space to create buttonholes. Complete with 2 additional rows in the same pattern and fasten off.
Part 5 – Assembly
- Layer: Place the front panel wrong side up. Layer the back upper panel wrong side down, then place the back lower panel on top.
- Align: Ensure the total dimensions reach 45 cm × 45 cm. Pin all edges securely.
Part 6 – Edging
- Join: Insert your hook at one corner of the pinned panels and join your yarn.
- Sc Around: Work sc evenly through all layers around the four sides, placing 3 sc in each corner for a rounded finish.
- Second Round: Work a second edging round in reverse sc for a polished look or continue with ordinary sc, if preferred.
- Finish: Fasten off.
Part 7 – Finishing Touches
- Buttons: Sew four wooden buttons onto the lower back panel, aligning them with the buttonholes created earlier.
- Weave in Ends: Use a yarn needle to weave in any remaining ends.
- Block: Lightly steam-block the cushion cover to smooth out any uneven areas.
- Insert Cushion: Finally, insert the 45 cm cushion pad to finish your project.
Tips for the Best Result
- Maintain Tension: Keep your tension consistent to ensure the panels fit snugly.
- Skip Stitches Carefully: Pay close attention to which stitches are skipped when creating buttonholes to avoid accidental gaps.
- Check Alignment: Ensure that buttonholes line up correctly with buttons before final assembly to avoid misalignment.
Common Mistakes
Uneven Edging
This can happen if the stitches are not evenly worked; counting your scs around the edges can help.
Insufficient Panel Height
Always measure as you go when repeating rows to ensure panels are the correct height.
Misalignment of Buttonholes
Double-check the spacing between buttonholes before sewing on buttons to ensure functionality.
Conclusion
This Nordic Pebble Texture Cushion Cover is a beautiful and practical crochet project that will enhance your home. With its unique pebble stitch texture and stylish button closure, this cushion cover not only looks great but also serves as a testament to your crochet skills. Enjoy your finished piece and the comfort it brings to your space! Happy crocheting!



