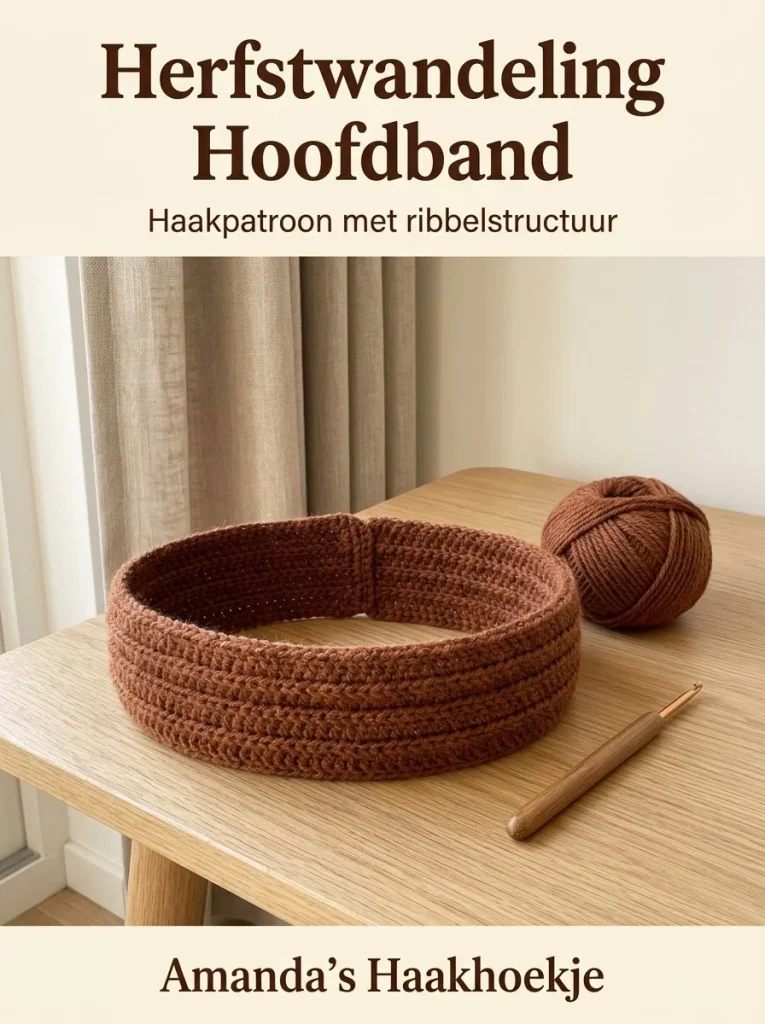
Create a cozy accessory for autumn walks with this delightful headband featuring a ribbed texture. This pattern is perfect for crafters looking to add a warm touch to their wardrobe, and it can be customized to fit any head size. Let’s dive into the materials needed, skill level, and detailed instructions to create your own ribbed headband.
Skill Level
Confident Beginner
This pattern is suitable for confident beginners who are comfortable with basic crochet techniques such as chaining and single crochet, as well as working in the back loops.
Materials
- Approximately 80–100 g of soft medium-weight yarn in rust brown
- 5 mm crochet hook
- Yarn needle
- Scissors
- Measuring tape
Abbreviations — US Terms
- ch – chain
- sc – single crochet
- v – vertical stitch (single crochet)
- BLO – back loop only
Special Stitches
Ribbing
The ribbing for this headband is created by working single crochet stitches in the back loops. This technique gives a textured look and allows the fabric to have some stretch, making the headband comfortable to wear.
Gauge
Gauge is not essential for this project as long as the headband fits comfortably around the head. However, consistent tension is important for a uniform appearance.
Finished Size
The finished headband is designed to be approximately 50–53 cm long and will fit comfortably around the average adult head. Adjustments can be made if necessary.
Pattern Notes
- The headband is constructed in rows.
- The foundation chain is made in multiples of stitches to achieve the desired width; approximately 10 cm.
- The first row is worked in single crochet, and subsequent rows continue to build upon this foundation.
- The work is turned at the end of each row, and the last row is finished by seaming the ends together.
Crochet Instructions
Foundation Chain
- Start with a slip knot on your hook and chain 19.
- Starting from the second chain from the hook, work 18 single crochet stitches. This foundation chain should measure about 10 cm across. Adjust the starting chain by adding or removing stitches as needed to achieve the desired width.
Row 1
- Chain 1 to begin the next row and turn your work.
- Work 18 single crochet stitches only in the back loops of the stitches from the previous row.
- Check your count to ensure you have 18 stitches at the end of the row.
Row 2 and Beyond
- Repeat Row 1 until the strip measures about 50–53 cm long. The fabric should stretch slightly when you wrap it around your head, ensuring comfort. Adjust your rows longer or shorter depending on how your yarn stretches.
Finishing the Headband
- Cut a yarn tail of approximately 35 cm and pull it through the last stitch to fasten off.
- Line up the short ends of your strip so that they meet without twisting the fabric.
- Using a yarn needle, sew the ends together with a flat slip stitch seam. Do not pull too tightly; this will ensure the headband remains stretchy.
Weaving in Ends
- Tuck in any loose ends on the inside of the headband with your yarn needle for a clean finish.
- Position the seam at the back of the headband for a seamless look.
Blocking
- Lightly dampen the headband and lay it flat to dry without stretching it out.
- Always follow the care instructions for your yarn to keep your headband looking its best.
Care
Check the yarn label for specific washing instructions. When unsure, hand wash in cold water and lay flat to dry to avoid stretching the fabric.
Conclusion
Creating your ribbed headband is a rewarding way to add a handmade touch to your autumn wardrobe. With the ability to customize the length and fit, you can make this piece uniquely yours. Enjoy your cozy accessory and the comfort it brings during your outdoor activities!



