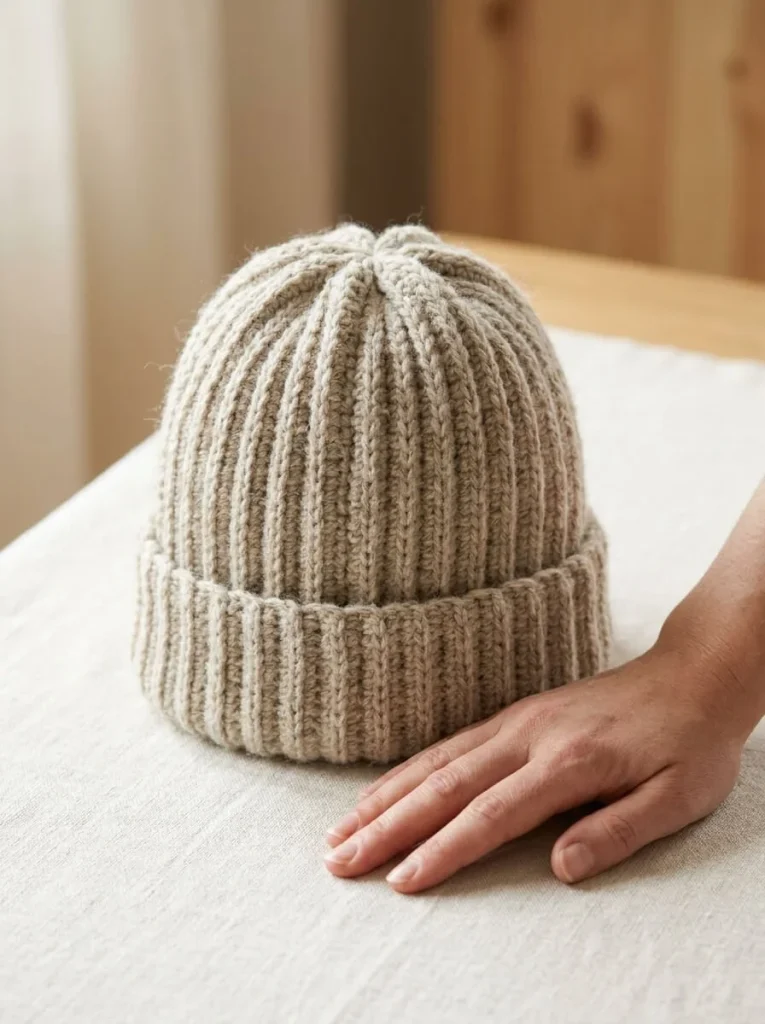
Classic Ribbed Crochet Beanie
Create a stylish and warm ribbed beanie using this easy crochet pattern. Perfect for keeping your head warm in cooler weather, this beanie is made from medium-weight wool-blend yarn and is suitable for confident beginners.
Materials and Tools
- Approximately 150–200 g medium-weight wool-blend yarn in oatmeal
- Approximately 5 mm crochet hook, adjusted to the yarn and fabric
- Measuring tape
- Scissors
- Blunt yarn needle
Instructions
Skill Level: Confident Beginner
Estimated yarn quantity depends on fit and yarn thickness.
-
Measure the head circumference. As a starting point for stretchy ribbing, aim for a rectangle length around 90% of this measurement: approximately 50 cm for a 56 cm head. Check the actual stretch before seaming.
-
Choose a rectangle height of approximately 28–30 cm, allowing for a 5–6 cm folded brim and crown gathering. Make a relaxed chain to this length, then add 1 turning chain.
- Row 1: Starting in the second chain from the hook, work 1 hdc in each chain. Record the stitch count.
-
Row 2: ch 1, turn; work 1 hdc BLO in every stitch. Repeat row 2, maintaining the same stitch count. After several rows, check that the row length is still approximately 28–30 cm. Adjust the foundation chain and restart if needed.
-
Continue until the growing dimension reaches your target head circumference with negative ease. Wrap the rectangle around the head without twisting. The foundation edge and final row should meet with gentle stretch, without squeezing. Add or remove rows to fit.
-
Fasten off, leaving a long sewing tail. Align the foundation edge with the final row and sew corresponding stitches together using a flexible seam. You now have a tube. Turn it so the seam sits inside.
-
Choose one open end for the crown. With a separate strong length of matching yarn, weave a running stitch through the row ends around that opening. Pull gradually to gather the crown. Work several small stitches across the remaining central hole to close and secure it. Thick fabric may create a small gathered rosette at the crown; this is normal for this construction.
-
Leave the other end open. Fold it outward by approximately 5–6 cm to make the brim. Try on and adjust the fold depth. Weave in all ends securely.
-
Wash or dampen according to the yarn label, reshape gently, and dry flat. Do not stretch the ribbing aggressively. No pom-pom or additional edging is included.
Note: This original pattern draft has not been physically test-crocheted. Finished dimensions and yarn amounts are estimates; check fit as you work.



